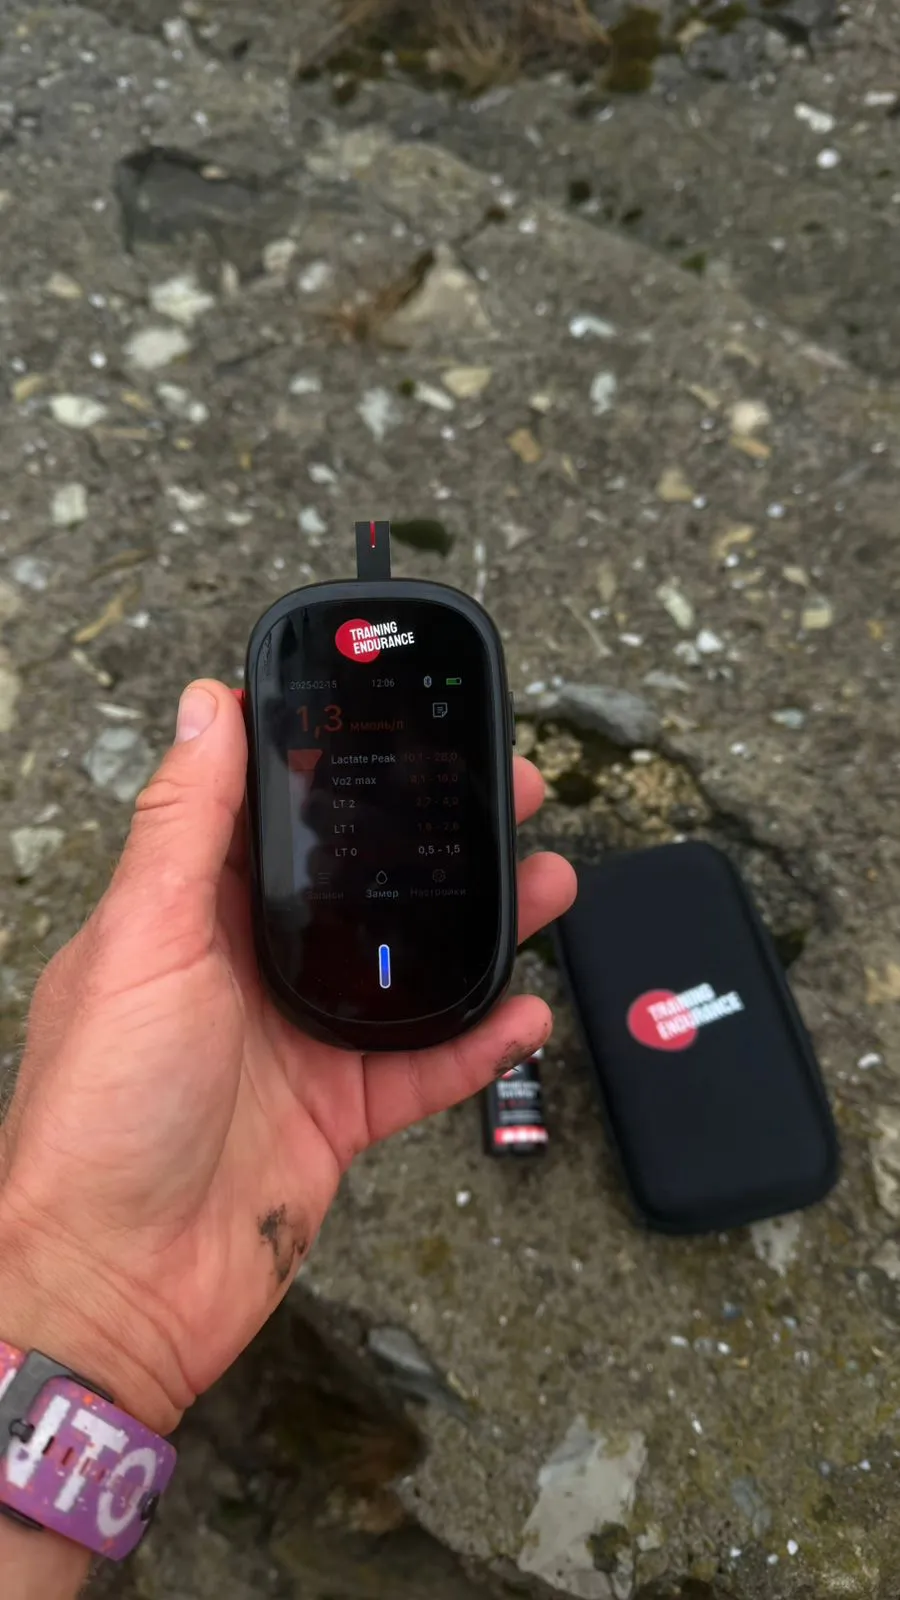
Guidelines for Using a Lactate Analyzer
Preparing the device Open the device and insert the batteries. The strip package will contain a special chip — you need to insert it into the top of the device. The chip…
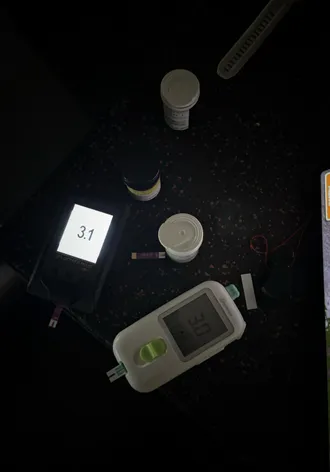
Preparing the device
Open the device and insert the batteries. The strip package will contain a special chip — you need to insert it into the top of the device. The chip is made separately for each batch of strips: a new package means a new chip. You may skip inserting the chip if the previous package was from the same batch (each package is numbered). It’s enough to insert the chip before the first use of new strips; after that you can remove it or leave it in the device.
Preparing for a workout
For a workout, it’s best to keep the device in an airtight bag. The strips are the most important factor for the device’s accuracy: they should always stay in their jar and be taken out only during the test. During a workout, if the weather is below +5 degrees, the readings may be inaccurate (see the manual for details). To use the device in cool weather, keep it in a bag and in a warm place.
For the analysis you’ll also need lancets to prick a finger or earlobe, as well as alcohol and dry wipes to remove sweat.
Timing the sample
During a workout it’s important not to rush. You always have 30–40 seconds in low-intensity zones and at least 1 minute in moderate-intensity zones. In zones above LT2 and during short sprint efforts, peak lactate is usually observed 1–3 minutes later.
Sampling procedure
Before taking a sample, it’s important to wipe the sweat off the finger — if sweat mixes with the blood, the result will be inaccurate.
If you take the sample yourself, it’s easier to do it from a finger. If someone is helping you, you can take blood from the earlobe.
When it’s time to take a sample during a workout:
- Stop.
- Wipe the finger or earlobe with an alcohol wipe, then a dry one (if you have no alcohol wipe — at least a dry one). The finger must be free of sweat.
- Take out a lancet and a strip. Insert the strip into the device.
- Prick the pad of the finger or the earlobe.
- Gently squeeze out the blood, don’t press hard. Wipe away the 1st–2nd drops with a dry wipe, and take the sample from the 3rd drop.
- The strip itself has a small well — it must be completely filled with blood. If there is too little blood or the well isn’t filled in one go, the readings may be inaccurate.
- At the moment of sampling, the strip must be in the device.
- Wipe the finger, wait for the result — 10 seconds.
- Remove the strip and put the device back in an airtight place.
The drop of blood should always be uniform and not spread across the finger — otherwise sweat will get in and the readings will be inaccurate.
Handling the test strips
The strips are the most important factor for the quality of the result. You may only hold a strip by its middle part so as not to damage the electrode. Whatever device you use to measure lactate, the most important thing will always be the test strip and the correctness of the sampling — the devices themselves are quite reliable and rarely break down.
How the test strips work
The test strips of a lactate analyzer include gold electrodes, which improve the accuracy of the analysis results by enhancing and standardizing the electrical transfer from the reaction zone of the test strip to the analyzer.
In next-generation biosensors, in addition to the specific enzyme that reacts with the analyte, a mediator is also used to transfer electrons.
The release of electrons occurs as a result of a chemical reaction between the parameter being studied (in this case, lactate) and a specific enzyme. The more lactate there is, the more electrons are released — so there is a direct relationship between the concentration of lactate in the sample and the number of electrons produced, which generates an electrical potential with an intensity proportional to the lactate concentration.
The analyzer measures the electric current generated in the reaction zone. To do this, it uses at least 2 electrodes embedded in the test strip, which connect the analyzer to the reaction zone (near the tip of the test strip). Once the analyzer measures the electrical potential, its own algorithm converts the intensity of the electric current into a specific lactate value and displays the result on the screen.
Today, the vast majority of researchers in the field of analytical control believe that the most important factor for obtaining accurate results with a portable blood analyzer is the quality of the test strip, its storage and proper handling — not the analyzer itself. That’s why any ingress of sweat, liquid, or dirt can damage the strip and make the result inaccurate.